
YouTube End Screens and Cards are two of the most powerful (and underused) tools for growing your channel in 2026. They help you guide viewers to more of your content, boost subscriptions, increase watch time, and drive traffic to playlists, other videos, or even external links all without leaving YouTube.
What Are YouTube End Screens and Cards?
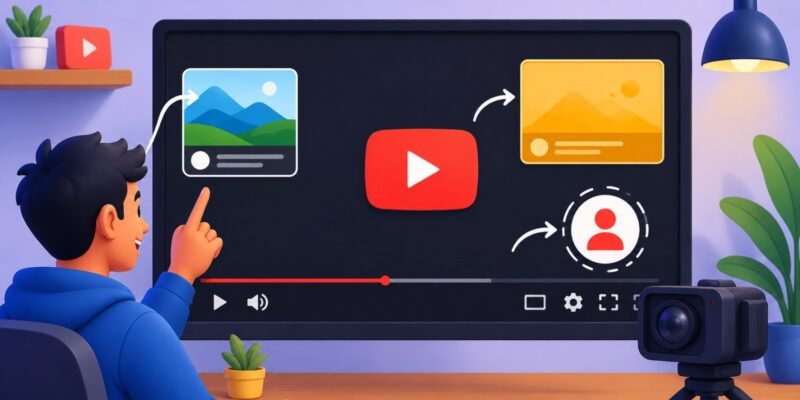
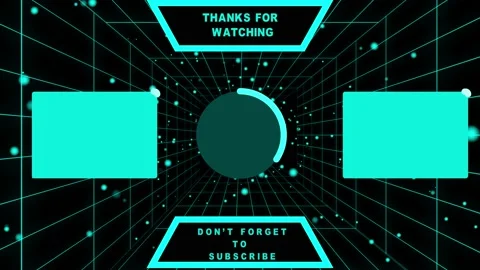
End Screens (also called end cards) appear in the last 5–20 seconds of your video. They overlay interactive elements on your video, such as:
- Subscribe button
- Video or playlist suggestions
- Channel promotions
- External links (approved ones)
Your video must be at least 25 seconds long to use them. You can add up to 4 elements for standard 16:9 videos.
Cards (Info Cards) are smaller interactive pop-ups that appear during your video. They can link to videos, playlists, channels, polls, or approved links. You can add up to 5 cards per video.
Key Difference: End screens are for the finale directing viewers to the next action after they finish. Cards are for in-the-moment engagement, like “Watch this related video for more details.”
Both increase session watch time, which signals to YouTube’s algorithm that your content is valuable.
Why They Matter in 2026: The Fundamentals
YouTube prioritizes watch time and audience retention. End Screens and Cards help by:
- Keeping viewers on your channel longer (boosting recommendations).
- Converting casual viewers into subscribers.
- Creating seamless content funnels (e.g., video series).
- Driving traffic to merch, websites, or other platforms (with restrictions).
Beginner Fundamentals to Understand:
- They only work on public or unlisted videos (not private or “Made for Kids” in some cases).
- Viewers can dismiss them, so make them compelling.
- Mobile viewers see a slightly different layout test on both.
- Analytics show clicks and performance.
Step-by-Step Guide to Adding End Screens
- Sign in to YouTube Studio (studio.youtube.com).
- Go to Content in the left menu.
- Click the title or thumbnail of your video.
- In the left menu, select Editor.
- Scroll to End screen (or find it under Video elements during upload).
- Click Add or Apply template.
- Choose elements:
- Video: Promote a specific video or let YouTube suggest the “best for viewer.”
- Playlist: Great for series.
- Subscribe: Always include this.
- Channel: Promote your channel.
- Link: For approved external sites (e.g., merch).
- Drag and position elements on the preview. Leave space so they don’t overlap.
- Set timing (usually the full 5–20 seconds available).
- Click Save.
Pro Tip: Leave 15–20 seconds of clean footage at the end of your video (e.g., a branded outro with empty space on sides) before uploading. This prevents elements from covering important visuals.
Step-by-Step Guide to Adding Cards
- In the same video editor, select Cards.
- Click Add card.
- Choose type: Video, Playlist, Channel, Poll, or Link.
- Pick the exact timestamp when it should appear (e.g., when you mention the topic in your script).
- Add teaser text (e.g., “Learn the full recipe here!”).
- Save. Repeat for up to 5 cards.
Timing Tip: Place cards at natural pauses after mentioning related content. Avoid the first 30 seconds and final 20 seconds.
Best Practices and Strategies
- Always include a Subscribe button in end screens. It’s a gentle reminder at the perfect moment.
- Mix elements: One video suggestion + Subscribe + Playlist is a strong combo. Don’t clutter—2-3 elements often perform best.
- Strategic Video Selection: Promote your most relevant “next” video, not just the newest. Use playlists for binge-watching.
- Verbal CTAs: In your script, say things like “Check the link in the cards” or “Subscribe and watch the next part!”
- Branding: Use consistent colors, logos, and fonts. Create a reusable template.
- A/B Test: Try different layouts and track performance in Analytics.
- Series Funnels: End one video with the next in the series.
Actionable Framework:
- Hook + Content
- Mid-video Cards for deeper dives
- Strong outro with End Screen guiding to subscribe + next video
Common Mistakes Beginners Make
- Adding too many elements (looks spammy).
- Poor timing cards too early or end screens covering talking heads.
- Irrelevant suggestions (low click-through).
- Forgetting mobile optimization.
- No verbal mention of the cards/end screen.
- Not using them on older videos (bulk tools help!).
- Ignoring analytics.
Practical Examples and Real Use Cases
- Tutorial Channel: End screen promotes the next tutorial in the playlist. Card pops up when mentioning a tool: “Download it here.”
- Vloggers: End screen shows “Subscribe for weekly vlogs” + latest video. Cards link to related stories.
- Review Channel: Card during product mention links to full review playlist. End screen drives to website for deals.
- Gaming: End screen with “Watch the full playthrough” + subscribe.
Tips to Improve Results
- Design custom backgrounds in advance.
- Monitor End Screen Element CTR and Card Click Rate in YouTube Analytics.
- Update old videos with bulk tools for quick wins.
- Test link cards for external traffic (follow YouTube’s policies).
- Combine with strong thumbnails and titles for better overall performance.
Quick Checklist:
- Video ≥25 seconds with 15–20s clean outro.
- At least Subscribe + 1 Video element.
- Cards: 2–3 max, relevant timing.
- Verbal CTA in script.
- Test on mobile.
- Review analytics after 48 hours.
Top Tools and Resources for 2026
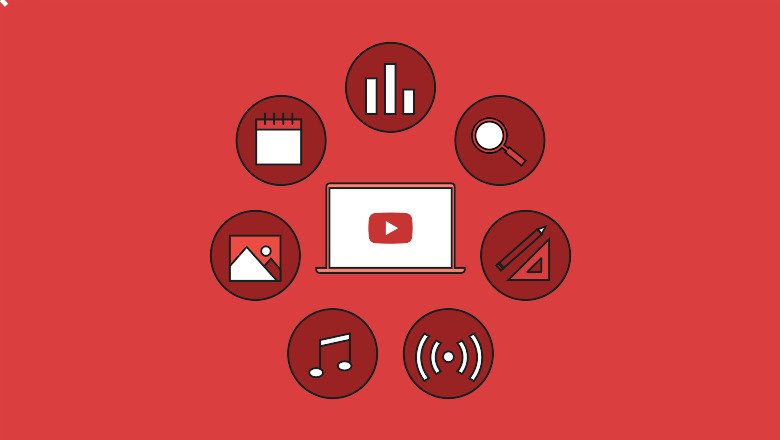
Here are beginner-friendly tools:
1. Canva — Free templates for custom end screen backgrounds. Drag-and-drop, export as image/video, then upload and overlay elements in Studio. Perfect for branding.
2. TubeBuddy — Browser extension with bulk end screen and card editor. Copy templates across many videos, analyze performance, and more. Great for scaling.
3. vidIQ — Competitor analysis, tag suggestions, and end screen insights. Helps choose the best videos to promote.
4. Adobe Express or Placeit — Professional, customizable end screen templates with animations.
5. YouTube Studio (built-in) — Free and sufficient for most. Use the visual editor for precise placement.
Start with YouTube Studio + Canva, then add TubeBuddy/vidIQ as you grow.
Key Takeaways
YouTube End Screens and Cards turn passive viewers into active fans. They’re simple to set up but incredibly effective when done right. Implement them on your next video today, track results, and refine.
This system works for any niche. Be consistent, stay strategic, and watch your watch time and subscribers grow.
FAQs
Q1: What is the difference between YouTube End Screens and Cards?
End Screens appear only in the last 5–20 seconds of your video and support up to 4 elements. Cards pop up during the video (up to 5) and are great for in-moment engagement.
Q2: Do I need special software to create End Screens?
No. You can create them directly in YouTube Studio. For custom designs, free tools like Canva work great.
Q3: How long should my End Screen be?
You can set it between 5–20 seconds. Most creators use 10–15 seconds for best results.
Q4: Can I add End Screens to old videos?
Yes! Go to YouTube Studio > Content > select video > Editor > End Screen. Bulk tools like TubeBuddy make it faster for many videos.
Q5: Why aren’t people clicking my End Screens or Cards?
Common reasons: irrelevant suggestions, cluttered design, no verbal CTA in the video, or poor timing. Always promote relevant next content.
Q6: Are Cards and End Screens available on mobile?
Yes, but the layout differs slightly. Always preview on mobile.
Q7: Can I add links to my website?
Yes, but only approved external links. Follow YouTube’s policies to avoid issues.