Batch-Record YouTube Videos is one of the smartest strategies for new creators who want to stay consistent, reduce stress, and grow their channel without burning out. Instead of scrambling to film, edit, and upload a video every single week, you record multiple videos in focused sessions and schedule them weeks in advance. This lets you stay 4 weeks (or more) ahead.
What Is Batch-Recording YouTube Videos and How Does It Work?
Batch-Record YouTube Videos means filming several videos (typically 4–8 or even more) in one or two dedicated sessions instead of one at a time. You prepare content in advance, set up your recording space once, record everything, then edit and schedule the videos to publish automatically over the coming weeks.
How it works in practice:
- Week 1 (Prep day): Brainstorm, research, and outline 4–8 video ideas.
- Week 1 or 2 (Filming day): Record all the videos in one block (2–4 hours).
- Following days: Edit the batch (or spread editing across a few sessions).
- Upload & Schedule: Use YouTube Studio to set publish dates 4 weeks out.
This creates a buffer. If life gets busy, you’re still posting consistently. Many creators film one day a month and stay ahead for the entire month.
Real example: A beginner cooking channel films four 10-minute recipe videos in one afternoon (changing aprons between takes). They edit over the next week and schedule one video every Tuesday for a month. Result: Steady growth with far less weekly pressure.
Important Fundamentals Beginners Must Understand
Before jumping in, master these basics:
- Consistency Beats Perfection: YouTube’s algorithm loves predictable uploads. Batching helps you deliver that.
- Energy Management: Film when your energy is highest. Talking to a camera is draining do it in batches while you’re “on.”
- Content Themes: Group similar videos (e.g., all “beginner tutorials” or “Q&A style”) for efficiency and audience retention.
- Evergreen vs. Timely Content: Prioritize evergreen videos (timeless topics) for batching. Save trending topics for quick single videos if needed.
- Your Setup: A simple, repeatable filming environment (good lighting, quiet space, consistent background) is key.
Mindset Shift: Treat batching as a production day, like a mini studio session, not casual filming.
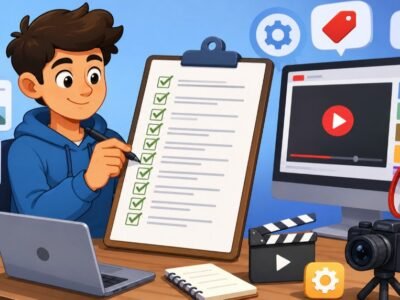
Step-by-Step Guide to Get Started with Batch-Recording YouTube Videos
Step 1: Plan Your Content (1–2 Hours)
- Create a simple content calendar (Google Sheets or Notion works great).
- Brainstorm 8–12 video ideas based on your niche, audience questions, and keywords.
- For each video: Write a working title, 3–5 main bullet points (not a full script at first), and target length.
- Example calendar row: “Video 1 – Title: How to Make Oatmeal 3 Ways | Bullets: Ingredients, Step 1…, Tips | Publish: July 9”.
Actionable Tip: Use YouTube Search Suggest or free tools like Google Trends to validate ideas.
Step 2: Prepare for Filming Day
- Gather any props, notes, or screen examples.
- Set up your space: Clean background, lighting (natural window light + affordable ring light or lamps), microphone (even a USB lav mic or good headphones).
- Prepare outfits: Have 2–4 tops ready to change for variety.
- Test your equipment the day before.
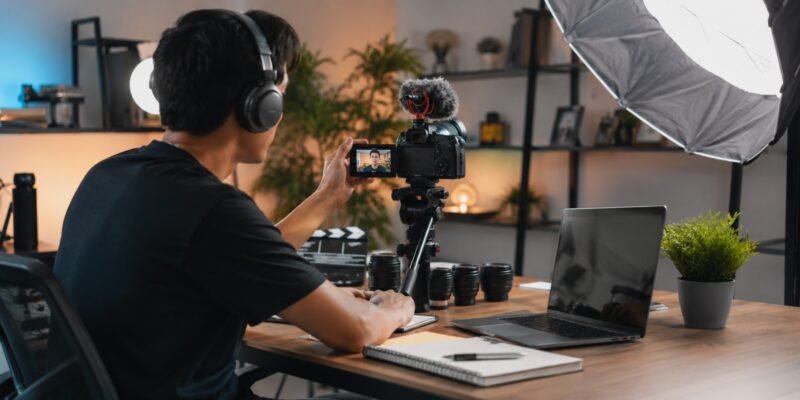
Step 3: The Batch Recording Session (2–4 Hours)
- Block time on your calendar and minimize distractions.
- Record one video at a time: Review outline (1–2 min), hit record, speak naturally, pause and restart if needed (keep going edits fix it).
- Between videos: Take a 5–10 min break, change outfit/top, drink water, review next outline.
- Aim for 4 videos in your first session. Pro tip: Record a few Shorts or b-roll clips in the same setup.
Pro Technique: Use a teleprompter app or bullet-point notes on a second screen/monitor so you don’t stare at the camera awkwardly.
Step 4: Edit and Polish
- Batch edit: Use the same intro/outro template for all videos.
- Add captions (auto-generate then edit), b-roll, simple cuts, and end screens.
- Export in YouTube-recommended settings (1080p or 4K, H.264).
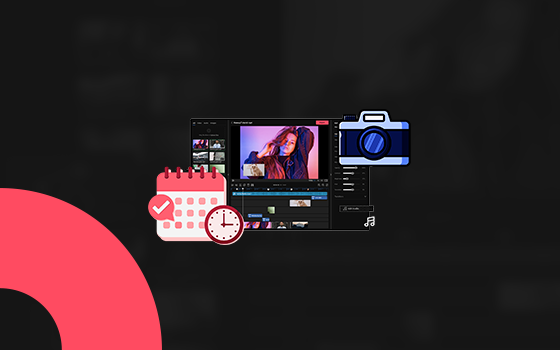
Step 5: Upload and Schedule
- In YouTube Studio: Upload all videos, write descriptions, tags, thumbnails, and set premiere or scheduled publish dates.
- Add end screens and cards linking to other videos in your batch.
Checklist for a Successful Batch:
- Content calendar ready
- Scripts/outlines printed or on screen
- Equipment tested
- Water + snacks nearby
- Backup recording (extra SD card or cloud)
- Thumbnails planned
Best Practices and Strategies
- Start Small: Batch 2–4 videos first. Scale to a month’s worth once comfortable.
- Theme Days: One batch for tutorials, another for vlogs or reviews.
- Repurpose: Turn long videos into Shorts, clips for social media, or blog posts.
- Batch Related Tasks: Do all thumbnails one day, all SEO research another.
- Audience-First: Always ask “What does my viewer need next?” when planning.
Framework for 4 Weeks Ahead:
- Film 4–5 videos → Covers ~1 month at 1 video/week.
- Add buffer videos for unexpected gaps.
- Review analytics after 2 weeks and adjust future batches.
Common Mistakes Beginners Make (and How to Avoid Them)
- No Planning: Jumping in without outlines leads to rambling or unusable footage. Solution: Always have bullets.
- Inconsistent Look/Feel: Different lighting or outfits make videos feel disconnected. Solution: Fixed setup + outfit changes.
- Perfectionism: Re-recording endlessly. Solution: Embrace “good enough” and fix in editing.
- Poor Audio: Bad sound kills videos. Solution: Invest early in a decent mic and record in a quiet room.
- Forgetting to Schedule: Filming but not uploading ahead. Solution: Block editing + scheduling time immediately after.
- Burnout from Over-Batching: Trying 10+ videos Day 1. Solution: Build up gradually.
Practical Examples and Real Use Cases
- Tutorial Channel: Batch 4 software tutorials in one day using screen recording. Viewers get steady learning content.
- Lifestyle/Vlog: Film talking-head videos on Monday, b-roll on Tuesday. Edit into cohesive stories.
- Review Channel: Record multiple product unboxings in similar lighting for a polished series.
- Solo Creator Example: Many creators film 4 videos in 3 hours monthly and spend the rest of the time on promotion or life.
Tips to Improve Results with Batch-Recording YouTube Videos
- Track what works with YouTube Analytics and refine future batches.
- Use templates for intros, outros, descriptions, and thumbnails.
- Stay hydrated and warm up your voice.
- Record extra “safety” takes for key points.
- Celebrate completing a batch treat yourself!
- Combine with Shorts: Record vertical clips during the same session for multi-platform reach.
Top Tools and Resources for 2026
Here are beginner-friendly tools explained:
- OBS Studio (Free): Powerful for screen recording, webcam + screen combos, scenes, and high-quality local recording. Ideal for tutorials and talking-head with overlays. Start here tons of free tutorials.
- CapCut (Free + Pro): Excellent mobile/desktop editor with auto-captions, effects, and screen recording. Great for beginners wanting fast, trendy edits and Shorts.
- Descript: Edit video like text (transcribe and cut words to remove “ums”). Perfect for talking-head batch editing. Speeds up post-production dramatically.
- Riverside.fm: High-quality remote/local recording with excellent audio/video separation and built-in editing/transcription. Good if you ever collaborate or want studio-like results.
- DaVinci Resolve (Free version powerful): Professional editor for color grading, audio cleanup, and complex projects. Steeper learning curve but free and future-proof.
Other Helpful Resources:
- YouTube Studio (for scheduling and analytics).
- Canva or Photoshop for thumbnails.
- Notion/Google Sheets for content calendars.
- Free mic recommendations: USB condenser mics under $50–100.
Start with free tools (OBS + CapCut) and upgrade as you grow.
Key Takeaways and Your Next Action
Batch-Record YouTube Videos transforms chaotic weekly creation into a calm, strategic process. You’ll post more consistently, create better content (because you’re not rushed), and have time for promotion and audience engagement the real growth drivers.
Your Immediate Action Plan:
- Open a spreadsheet and plan your first 4 videos today.
- Block a 3-hour filming session this week.
- Record, edit, and schedule them.
- Repeat monthly and watch your channel momentum build.
You now have a complete playbook. No more searching scattered advice implement this and stay 4 weeks ahead. Your future self (and subscribers) will thank you.
Frequently Asked Questions
Q1: How many videos should a beginner batch-record at once?
Start with 2–4 videos in your first session. Once comfortable, aim for 4–8 videos (roughly 4 weeks of content if posting weekly). Quality matters more than quantity early on.
Q2: Do I need expensive equipment to batch-record?
No. A smartphone, natural light, a quiet room, and a basic USB microphone are enough to start. Focus on good audio first viewers forgive average video but not bad sound.
Q3: How do I stay consistent with energy and voice across multiple videos?
Film when your energy is high, take short breaks, stay hydrated, and use the same setup/lighting. Record all videos in one or two sessions max per batch.
Q4: What if I make a mistake while recording?
Pause, correct yourself, and keep going. Most mistakes are easily cut in editing. You can also record a quick retake for key sections.
Q5: How far ahead should I schedule videos?
4 weeks is ideal for beginners. This gives you a buffer for life events while still allowing time to respond to trends or analytics.
Q6: Can I batch-record Shorts along with long videos?
Yes! Record vertical Shorts during the same session using the same setup. It’s a great way to repurpose content and boost reach.
Q7: Which tool is best for complete beginners?
Start with free tools: OBS Studio for recording and CapCut for editing. They are powerful, beginner-friendly, and don’t require a big budget.
Q8: What if my batch videos feel repetitive?
Vary your outfits, add different b-roll or examples, and mix video styles (talking-head, screen share, demonstrations). Planning diverse topics in your calendar helps.